How to create floral wallpaper using vinyl decals
Skill level
Intermediate
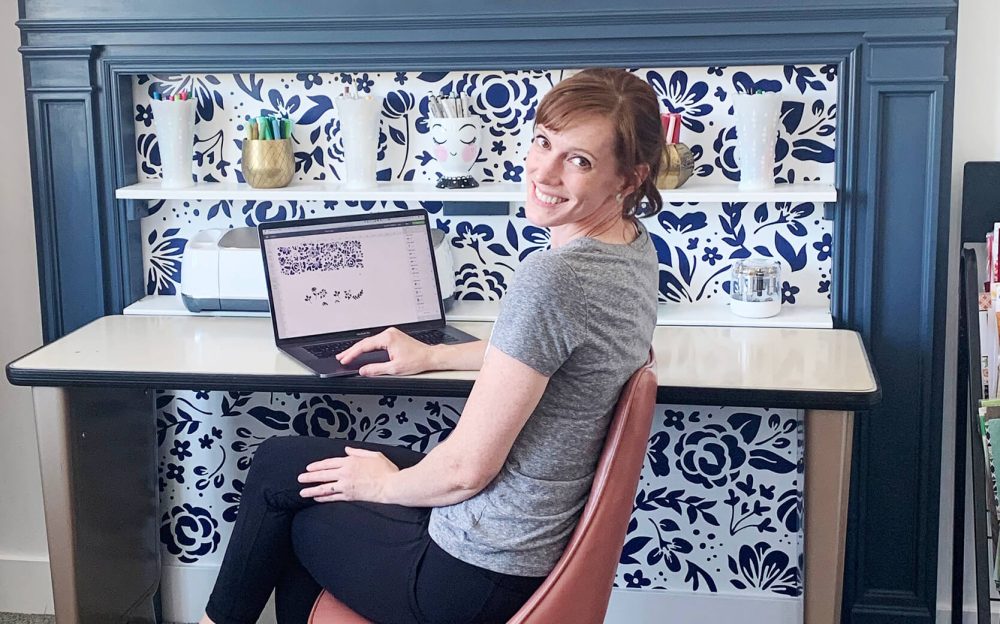
We recently moved into a new house. While my husband and I have similar tastes in most things, I like to take risks when it comes to home decor. He supports my crazy ideas, most of the time, but often with some hesitation.
The good news is that my office is my space, my place to do whatever I want, and believe me, I have big plans. Hanging chair? Why not!? Mantel turned shelving focal point? Heck, yes!
I’ve been loving the wallpaper trend, but because I change my mind so often, I wanted the look of wallpaper without the commitment. Enter removable vinyl! I decided to make my own wallpaper design with vinyl decals because it wasn’t only cheaper, but I’d be able to change it at a moment’s notice. Follow along with me below, or skip to the video tutorial.

Supplies needed
Print this list
*Make sure all of your vinyl is the same color/sheen. For my project, I ended up using four rolls of removable navy blue vinyl for my wall, which measures about 48” x 56”.
Floral wallpaper with vinyl decals
Step
Test your materials and find your designFirst, I tested my wall with a piece of removable vinyl to make sure it didn’t hurt the brand new paint. I caution you to always test your wall first before applying any type of vinyl.Also, anytime I start a big project, I create a mood board to organize myself and help me realize what colors, themes, styles I actually like for the space. I scoured Pinterest to end up finding that I was gravitating towards large, impactful florals.Next, I found a floral image selection that I liked in Design Space. Did you know any image in Design Space can be manipulated? Find a card you like but don’t want a card? Remove the card outline by using the <a href=”https://help.cricut.com/hc/en-us/articles/360009508613-How-do-I-use-the-Contour-function-in-Design-Space-?utm_source=blog”>contour feature</a>.
Step
Remove unnecessary elements from your designThe image that I used for the wallpaper was originally an Easter Pillow design. Here’s how I altered the image for my project (or you can skip to the free design files directly).Remove the “Happy Easter” text from the image using <a href=http://help.cricut.com/hc/en-us/articles/360009508613-How-do-I-use-the-Contour-function-in-Design-Space”>contour</a>.
Step
Slice your design<a href=”https://help.cricut.com/hc/en-us/articles/360009555953-How-do-I-cut-one-image-out-of-another-image-Slice-“>Slice</a> the flowers into 2 different sections.
Step
Repeat the patternTake the sliced pieces and separate to use over and over again as a repeated pattern.
Step
Cut and weed the vinyl designI find this part of creating pretty therapeutic.I set my machine to cut and then got into a rhythm. Cut, prep the next mat, weed, align the cuts together, cut, prep, weed, align, cut, prep, weed, align – until I ended up cutting and weeding 4 rolls of navy blue, removable vinyl in my floral pattern.
Step
Apply vinyl to the wallThis step took me 2 days, but only because of #kids!Begin by taping each piece to the wall to make sure it fits together. When I did this, I realized that I didn’t want the pattern to repeat in the same direction – it looked too uniform to me. I’m so glad I figured this out before applying to the wall!I used transfer tape to apply my vinyl using Cricut’s helpful tips and tricks. Don’t be afraid to use the same piece of transfer tape over and over again for each section of vinyl.
Free “Floral Accent Wall” design files
Feel free to use my adjusted design on Design Space for your project. If you don’t have a Cricut machine, here’s a free SVG file that you can resize, print, and use as a template.

DIY floral wallpaper video tutorial
Here’s a video tutorial so you can follow along as I make my DIY removable vinyl floral wallpaper.
I am in love! What do you think? Would you do something like this in your home?
Looking for more DIY home inspiration?
Return to the Cricut Guide to DIY Home Projects.
Search How-To
I want to make...


